


Before you can turn your user experience into a dialogue, first we have to make sure that your AI is an expert in your company and product. To do this, you can head over to the global training sources tab of the AI zone - the center of all things about your AI.
Note: It is also possible to organize your data sources into segments to avoid conflicts. Answers will then be generated using the training sources of one segment at a time, preventing mix-ups. This might be relevant if you have training sources that relate to different products, internal vs. external use cases, etc. Find out more in this article about segments.
Training your AI
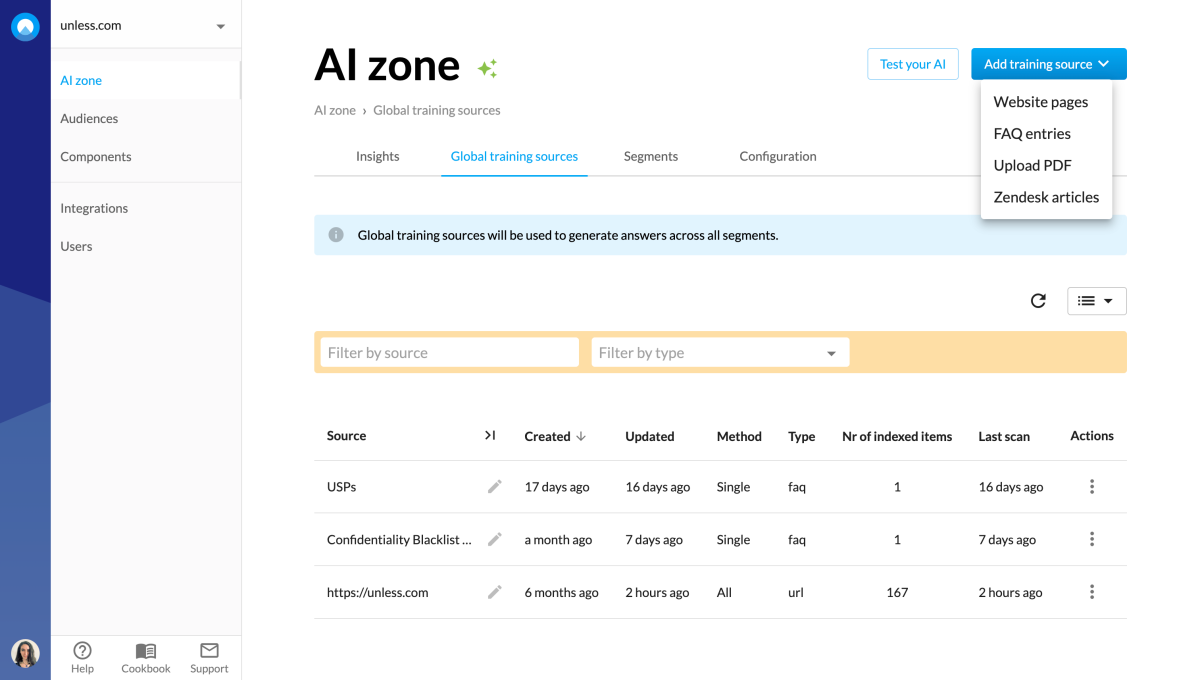
First, you have to train your AI. Luckily this can be done easily and in little to no time. All you have to do is click the +Add training source button and select the type of information you will be adding whether it be website pages, FAQs, PDFs, etc.
Note: The AI is only as good as the content it is trained on so it is important to have comprehensive and up-to-date information. Check out this article about good training sources.
Website pages
If you select website source, this will lead to the pop-up that can be seen in the screenshot below. Here you can simply add your website URL and define whether you’d like the entire website to be scanned or a single page. You can include or exclude certain paths if you think the content on those pages might lead to answers that are not relevant or up to date for example.
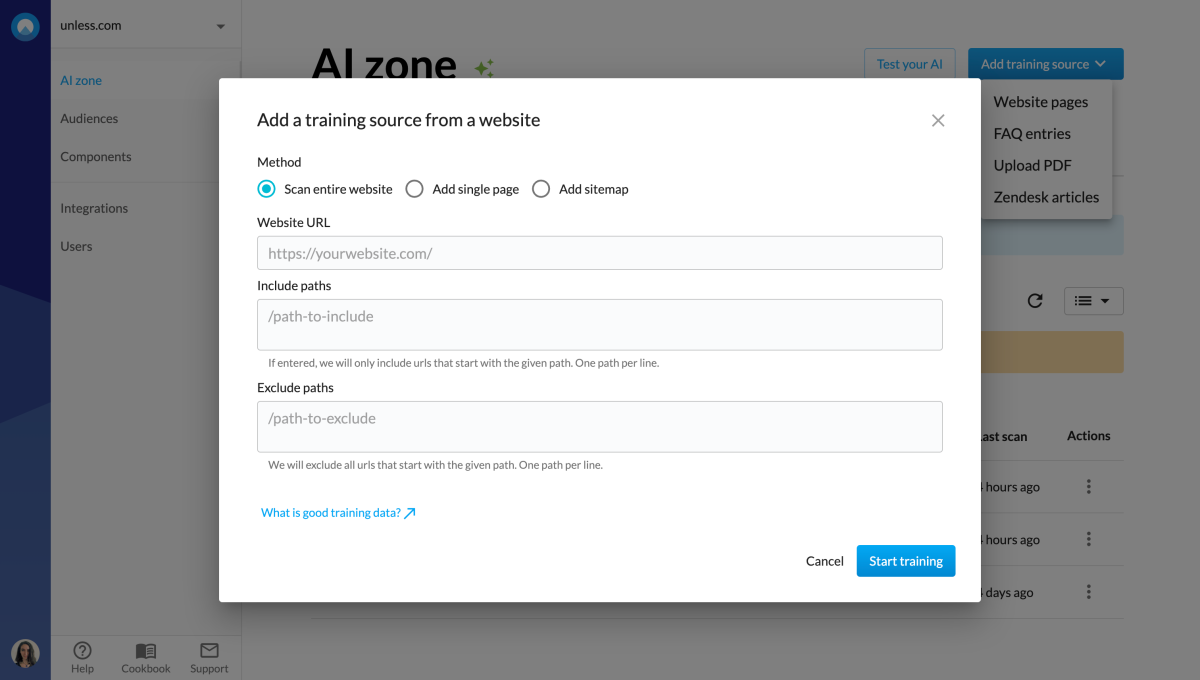
It is also possible to add a sitemap as a training source using a URL or uploading a xml file.
FAQ entries
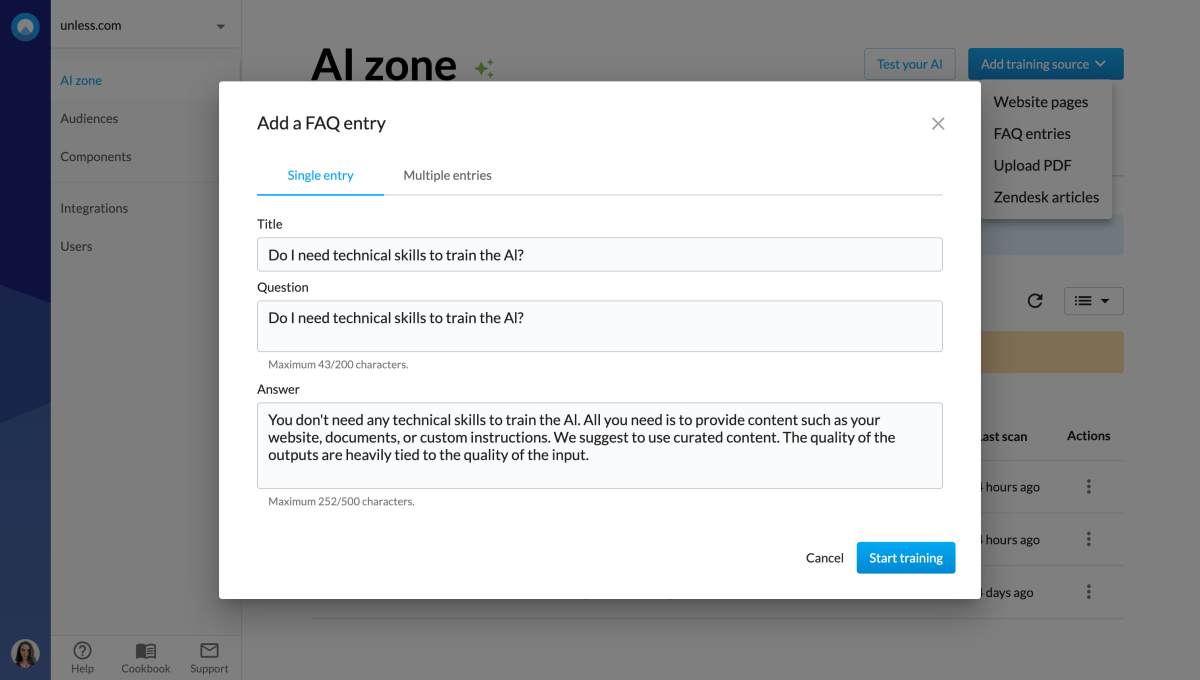
If you select FAQ entry, you will see the pop-up below where you can add a single FAQ by filling in the question and its answer, along with a title.
Multiple entries
Optionally, you can add (or edit) multiple FAQ entries at once. You start by exporting a CSV file containing your existing FAQ entries. You will use this file as a template for adding new FAQs so make sure you have at least one FAQ to begin with.
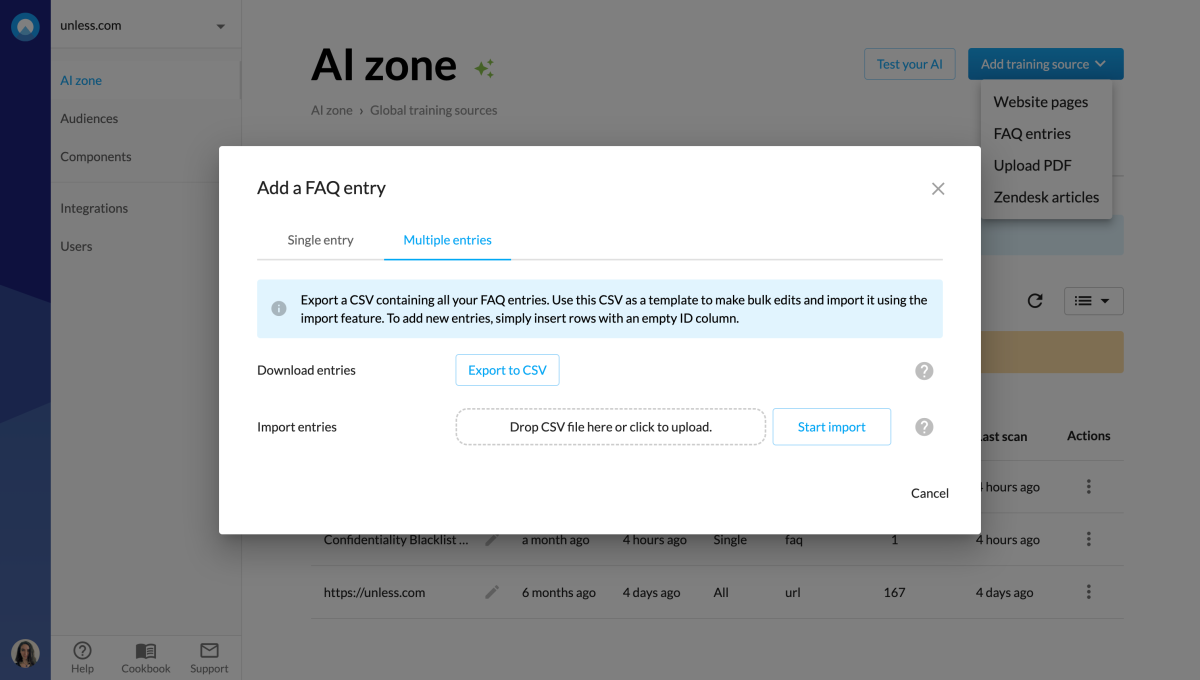
In this file, if you would like to update existing FAQs, you can simply change the text where needed, without making changes to the ID column. This enables you to do bulk edits without editing each FAQ one at a time in the Unless dashboard.
To add new FAQs, simply insert rows with an empty ID column. You can then upload the CSV file to import the new or updated FAQ entries.
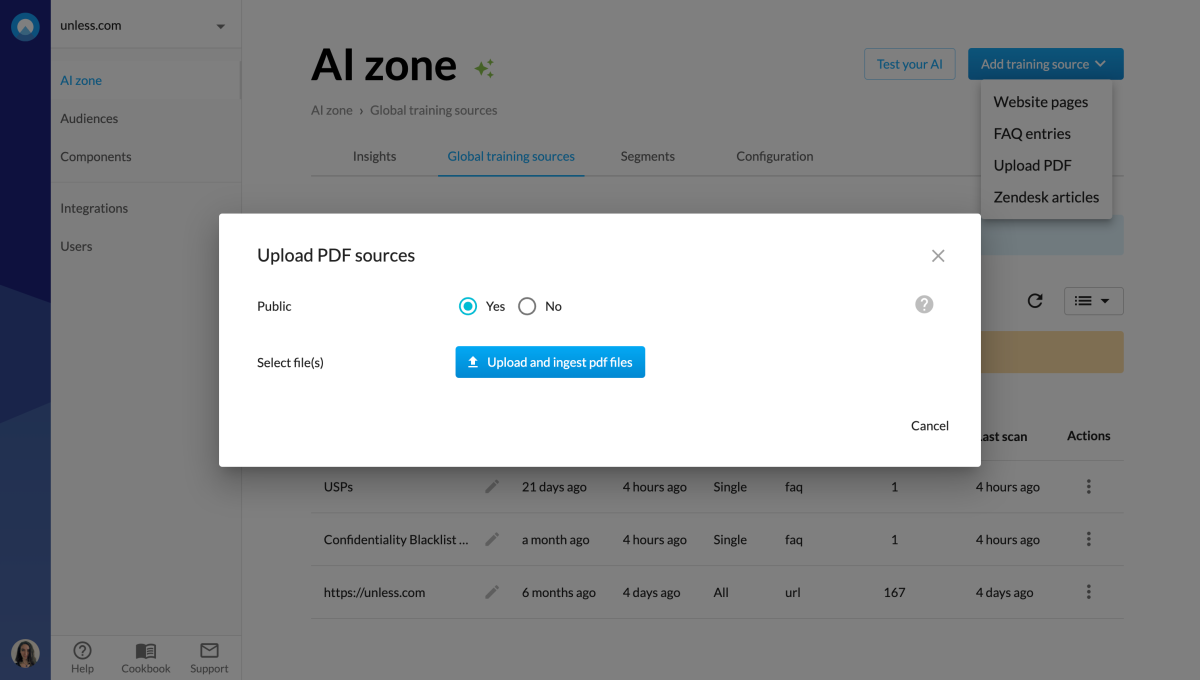
PDFs
Uploading PDFs is pretty straightforward. You just have to mark whether the PDF is public or not. If a PDF is marked as public, the AI will show a link to the source.
However, keep in mind that the formatting of a PDF is very important for ensuring optimal training of the AI. They should be well-structured and organized in a logical and coherent manner.
This can be achieved through the use of appropriate headings, subheadings, bullet points, and other formatting techniques to break up large chunks of text into more digestible pieces.
Images within PDFs will not be indexed, and tables with extensive data might not yield optimal results, as the AI thrives on written content with contextual meaning.
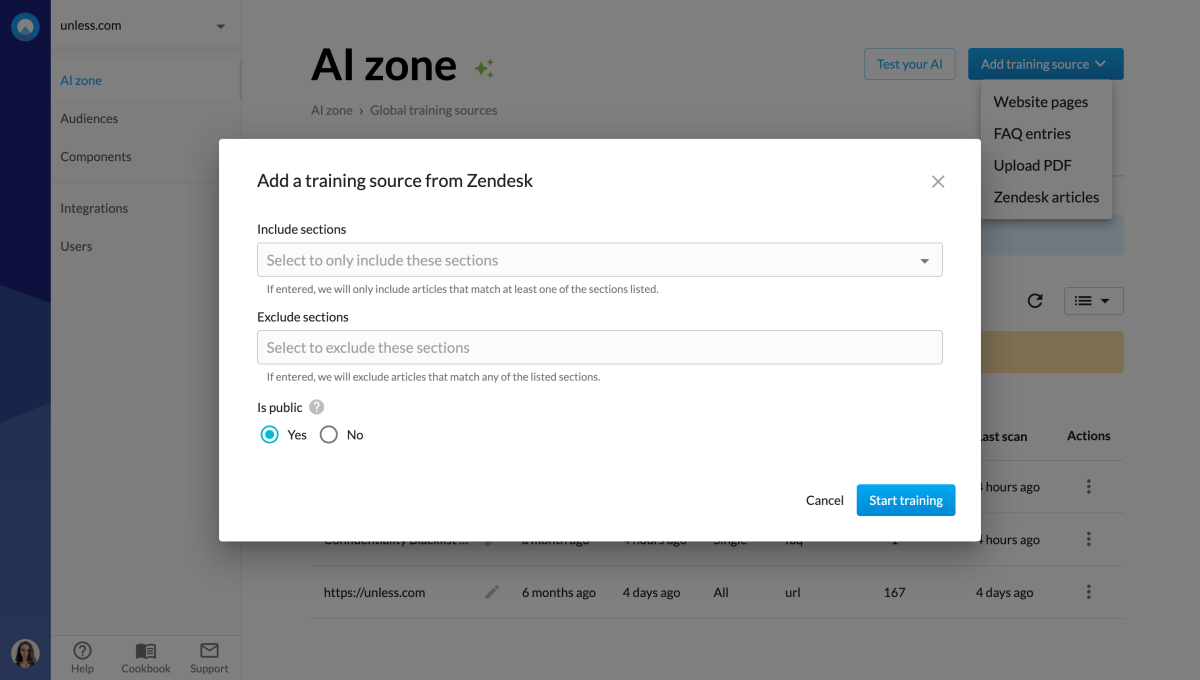
Integrations
In addition to the training sources mentioned above, it is also possible make use of integrations with Zendesk, Salesforce, and the like. These integrations allow you to pull knowledge base articles directly which can mean less clutter. Additionally, this gives you the option to include or exclude sections to get more specific about your training sources.
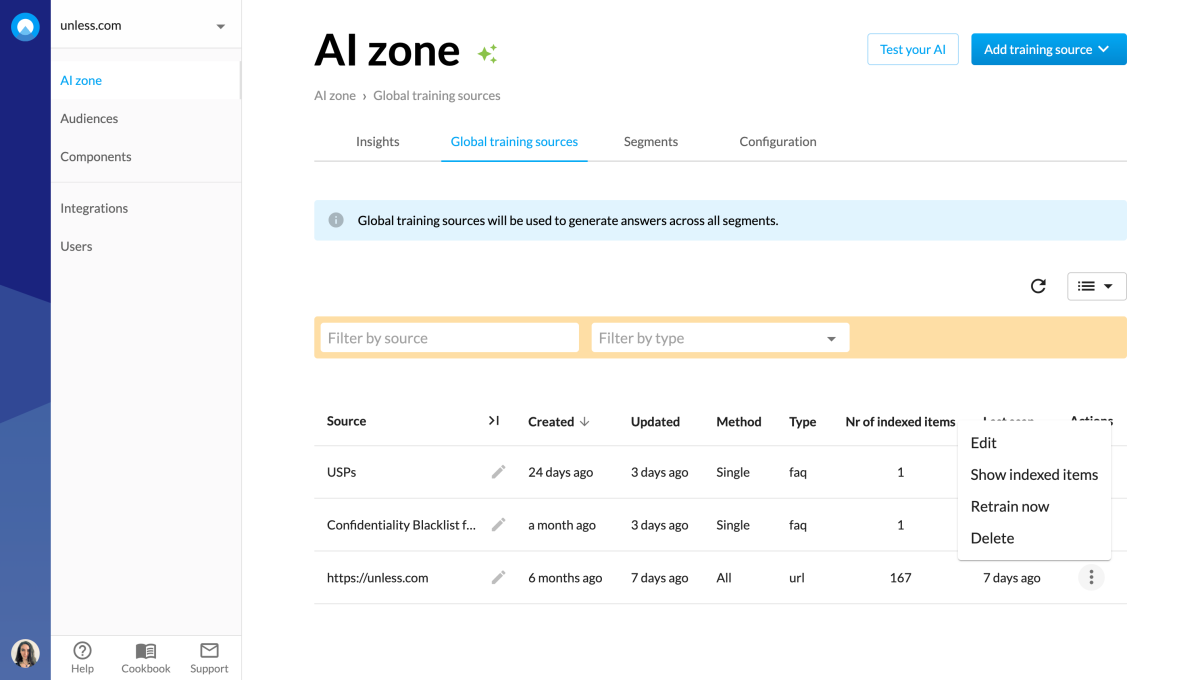
Once you’ve specified these details for whichever source type you are using, you can click Start training and the AI will scan the source you’ve defined. This usually doesn't take long. The source(s) you’ve added will then appear under the training tab with details about when they were created, when the last scan was, etc. Under Actions, you can also edit or delete a source, view the indexed items, or retrain the AI if the content has been updated since the last scan.
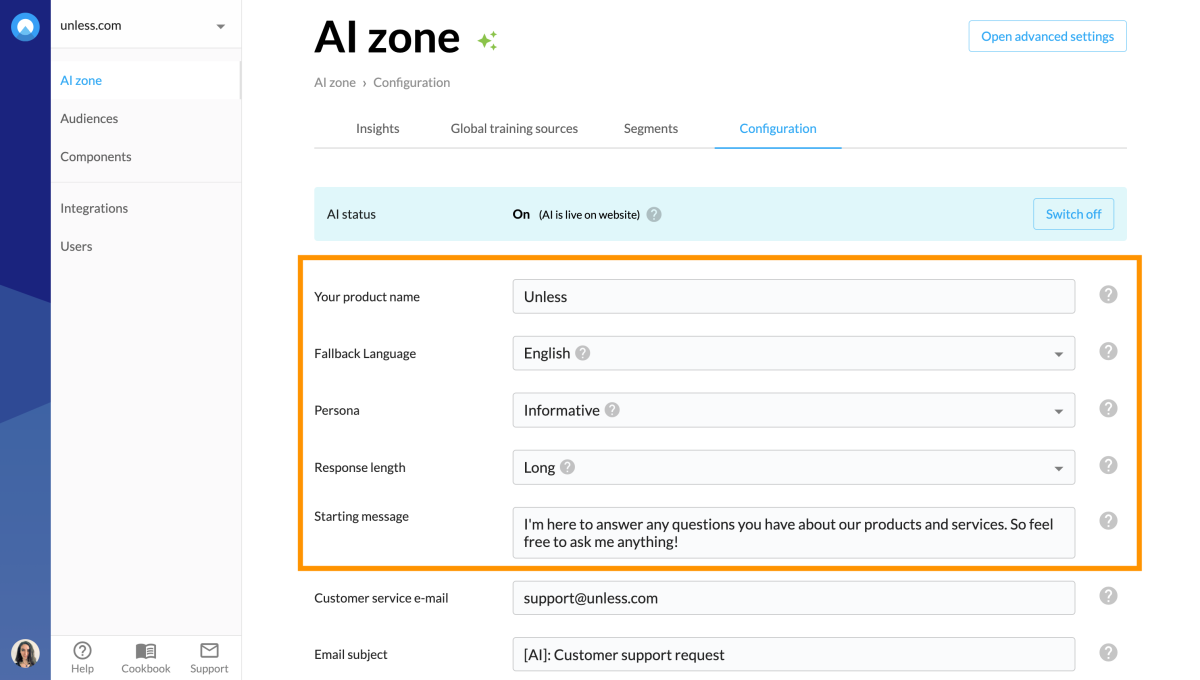
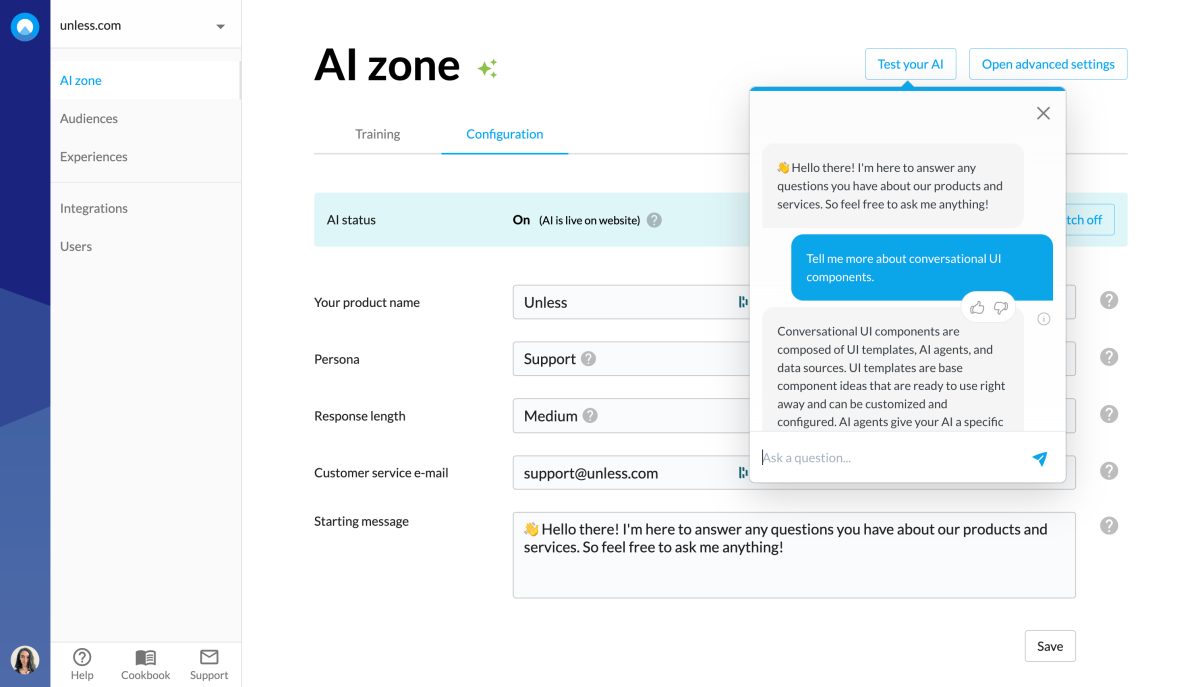
Configuring your AI
You can then use the Configuration tab to adjust the settings of your AI. You can add the name of your product, add your preferred fallback language for cases when the language cannot be confidently determined, and select a persona with a specific focus such as support, sales, or informative.
You can also define a response length. Generally speaking, we would recommend opting for long or max answers. Especially, if you are in an industry that can be more complicated and nuanced, longer responses might be the way to go. However it is best to test the AI with some questions to see what yields the best results for your particular case.
Here you can also add a message that will be the starting point of the conversation, the first message a visitor will see when opening the chat.
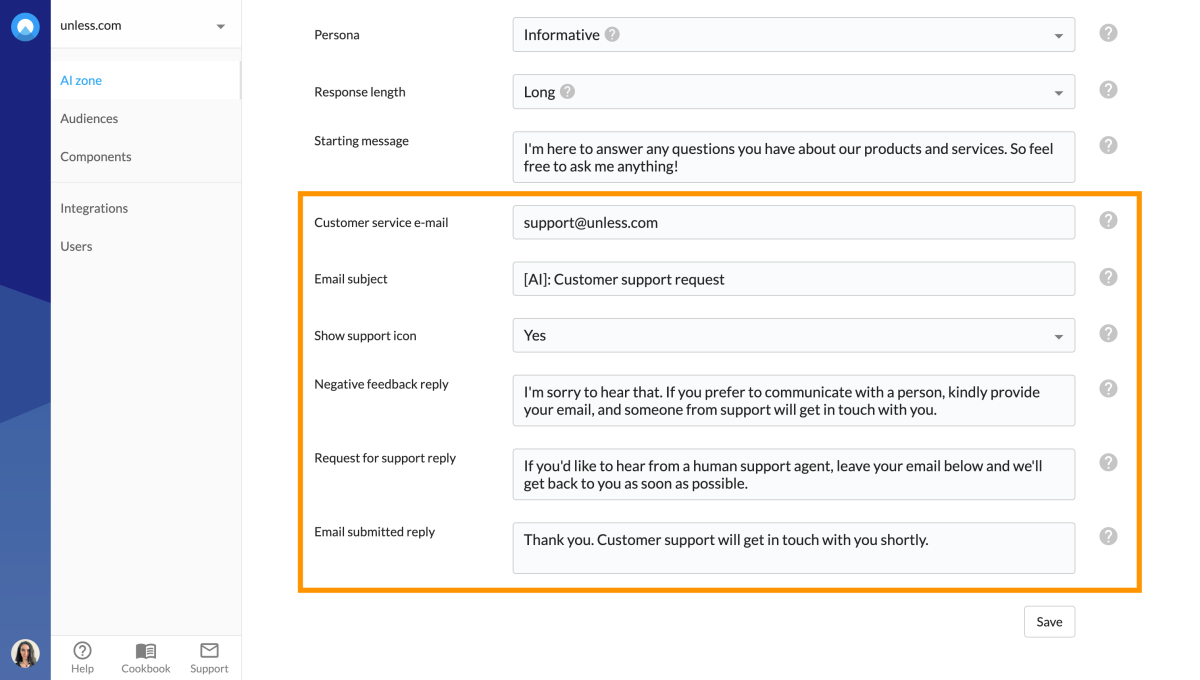
Additionally, you can give a customer support email address and choose to show a support icon. We will then give the user the option to forward their conversation to your customer support team. This is intended for cases where the user isn’t satisfied with the answers given and prefers getting in contact with a human.
You can then input a reply for when the user gives negative feedback to the answer, when they request to get in touch with the support team, and a confirmation message for when an email with their conversation gets forwarded to your support team.
Testing your AI
The next step is to test your AI. We recommend asking various questions that get asked often to see if the answers are what you’d expect. You can also ask the same questions using different phrases to see if it can always answer accordingly.
Note: Make sure to also check out the articles about the quality control center and how to review and improve conversations.
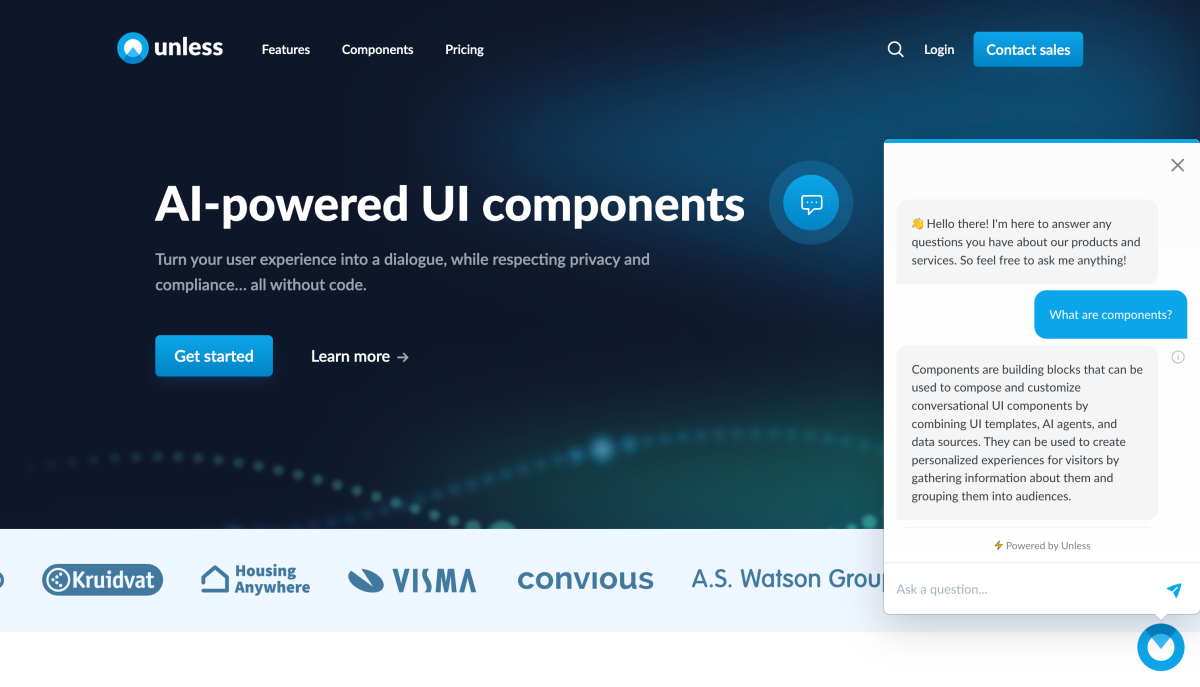
If all is looking good, you are now ready to set your AI live! But what does this mean? Well, it means an AI-powered chat functionality will appear on your website, ready to answer the questions of visitors right away.
And there we have it!
Lastly, the conversational functionality offered by Unless doesn’t end here. Find out more about conversational UI components in this article.